Digging a foundation

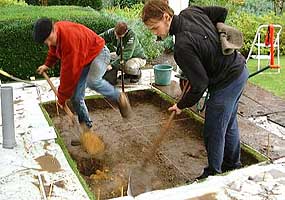
Since the SOS sculptures must be installed to stay perfectly level, for some situations a foundation is necessary. Here is an example of a large "sunken" SOS installation. Note, for "above-ground" installations, the original surface must not be disturbed. However, on soft surfaces like most earth, a large above-ground sos will need at least several concrete posts that should be driven into the earth for lasting stability.
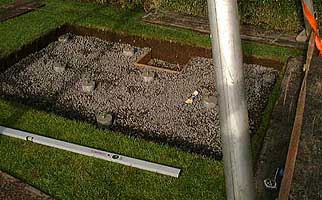
Foundation ready

For
good drainage, a layer of gravel is spread around the concrete leveling
posts, which contain embeded stainless steel leveling screws. The leveling
screws are then adjusted and measured with a rotating laser instument
for absolute accuracy. The SOS is now ready to lower into place. In this
case, we used a crane, and not the tripod seen in this foto.
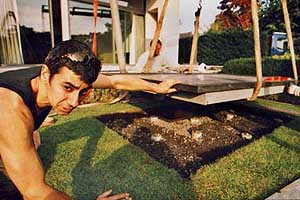
Lowering into place

This sos was commisioned as a "in the ground" work, so here you can see the edges of stone are inset and not polished. The top plate of granite extends out onto the ground's surface, covering the edge of the pit.
The
only difference to most sculpture installations of this weight and dimension,
is the necessity to lay the object precisely level. This installation,
including the drying time for the concrete (one day) was completed within
three days.
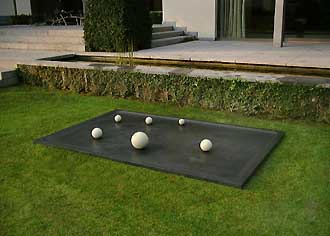
Installation complete
David Fried, Self Organizing Still Life, 2001 Brussels.
<< home top of page
